An In-Depth Guide to Act II of Crysis
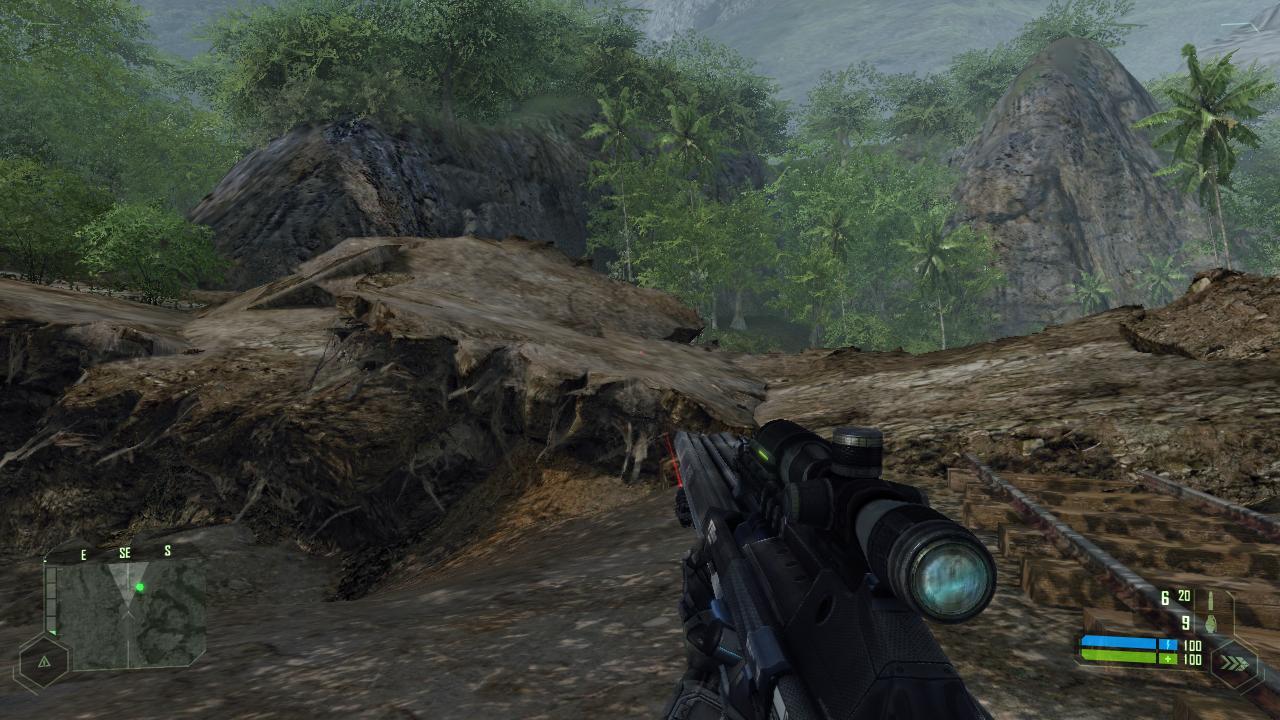
After thoroughly exploring the gear, weapons, vehicles, and enemies, alongside a comprehensive analysis of the first act in two dedicated articles, we now shift our focus to the three chapters that form the second act of Crysis. In this guide, you’ll discover essential tips and strategies to tackle this phase of the game with expertise and confidence.
A brief introduction to Act II of Crysis
The next mission marks the beginning of the island conquest phase. This section will be incredibly intense and push your PC to its limits. Prepare for epic and challenging moments that are only possible in this game.
Chapter Four: Assault
The mission begins aboard the VTOL you recovered in the previous chapter. The aircraft will transport you to a temporary U.S. Army base. The situation will be critical: to avoid being shot down, the VTOL will drop you in a nearby valley, away from the main battles.
After landing, collect SCAR ammo from the bodies of soldiers and the wounded in the area. Run through the valley (take a moment to admire the spectacular effects of explosions and artillery fire). Reach the observation point, where Command Osprey will instruct you to destroy the anti-aircraft positions at the port to facilitate zone control.

Phase 1: Advance Toward the Port
- Secure the road below to allow the Marines to take control of the area, then grab a vehicle.
- Drive along the road until you reach a gas station. Destroy it to eliminate an enemy vehicle and move toward the bridge guarded by enemy forces.
- Eliminate all enemies, including reinforcements from a support helicopter that will arrive shortly.
- Collect C4 charges from the ammo crate and use one to destroy the first anti-aircraft position. Place it as close as possible and detonate while moving away with “armor” mode active.
- Save your progress and cross the bridge. A hostile jeep will head your way; quickly destroy it with the SCAR’s grenade launcher.
Phase 2: Outpost Takeover
Proceed and grab a jeep to reach a small enemy-guarded outpost.
- Clear out all enemies and take down a support helicopter that will arrive shortly after. Use the gas pump for extra chaos, considering the high number of enemies in the area.
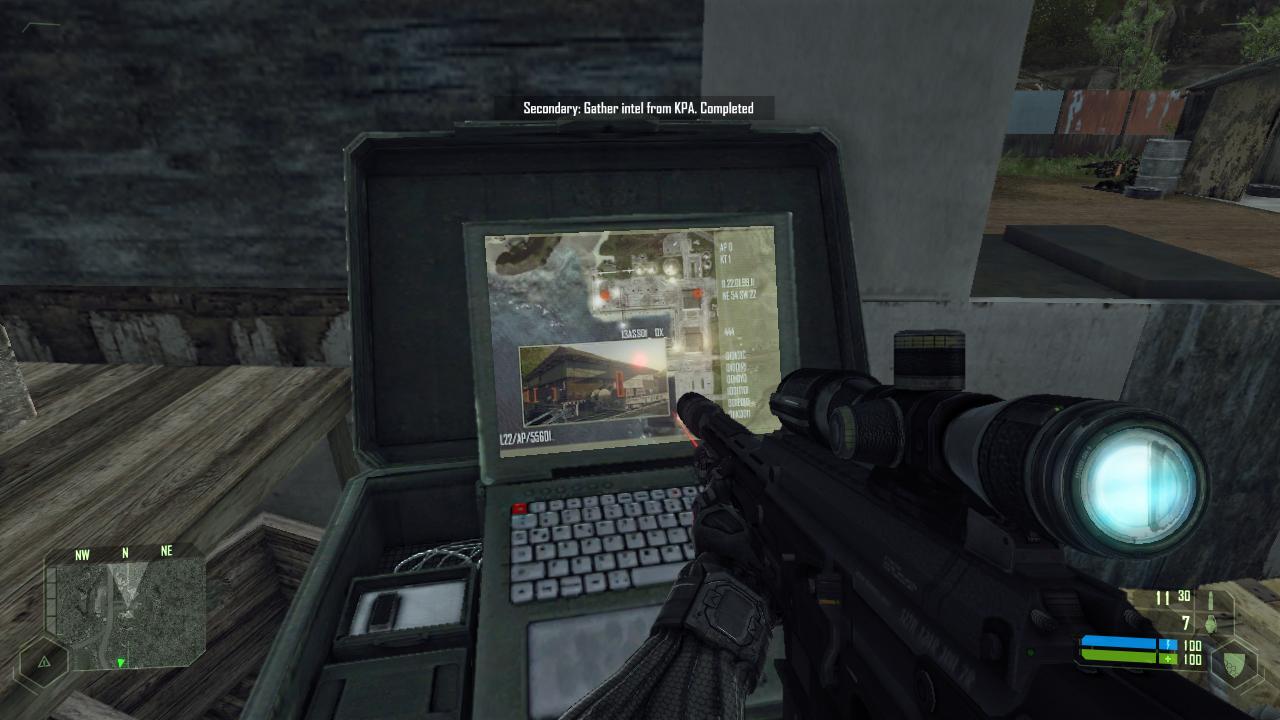
- Retrieve intel from the PC and collect all available ammo and explosives.
Psycho will contact you, informing you about an anti-aircraft position and an ammo depot in one of the two port hangars.
Phase 3: Cliff Assault
Take a vehicle and head back, then turn left at the first road to reach a guarded cliff.
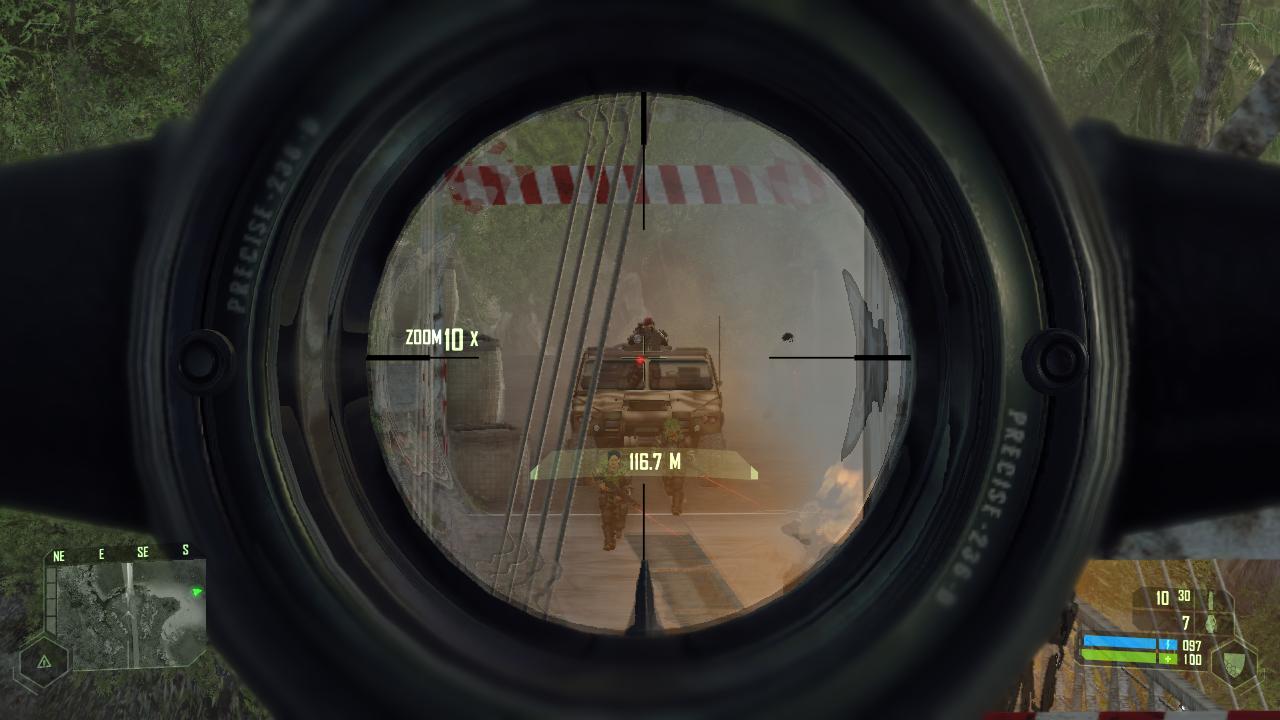
- Expect heavy resistance from numerous enemies, including sniper fire from the opposite shore and enemy support boats. Note: If you attack by sea using a boat, watch out for sea mines.
- Use the jeep’s turret to create chaos and eliminate some enemies. When the vehicle is heavily damaged (75-80%), let it explode.
- Clear the area and locate a crate with a rocket launcher and unlimited ammo. Use it to destroy the sniper tower and patrolling boats.
Important: Do not destroy the boat docked on the opposite shore. Once the area is clear, destroy the second anti-aircraft position to allow Marines to land and take control of the zone. Before advancing to the docked boat near the destroyed tower, clear the sea mines protecting the port. Use the turret to neutralize them, then take the boat to reach the last pier leading to the open sea near the military ship.
Phase 4: Port Assault
- Dock at the pier and eliminate all resistance. Watch out for two hostile jeeps and a turret positioned on a hangar roof.
- Attack the ammunition warehouse and collect all available supplies, including incendiary ammo for the FY71.
- Clear the complex, exit, and destroy the last anti-aircraft position.
Phase 5: Jammer Neutralization
- Board the ship using “strength” mode and locate the PC controlling the jammer.
- Deactivate it.
- Turn off the PC, exit the ship, and reach the main dock. Jump onto a container and use your binoculars to give the all-clear for air support. Enjoy the spectacle of the attack and, if you like, explore the shipwreck after it sinks
Phase 6: Final Advance
U.S. Army transport VTOLs will arrive on the scene. Take down the last enemy helicopter and head to the port’s outskirts, where tanks are stationed.
Here, you will meet Strickland, who will assign new orders while Psycho departs on another mission.
Chapter Five: Onslaught
This level has been praised by Digital Foundry for its extraordinary technical ambition.
You’ll begin the chapter aboard a tank, following an allied tank through a valley(Note: Take in the vastness of the map, dense vegetation, and numerous vehicles simultaneously in the area. This setting represents one of the largest and most complex battles in the game).
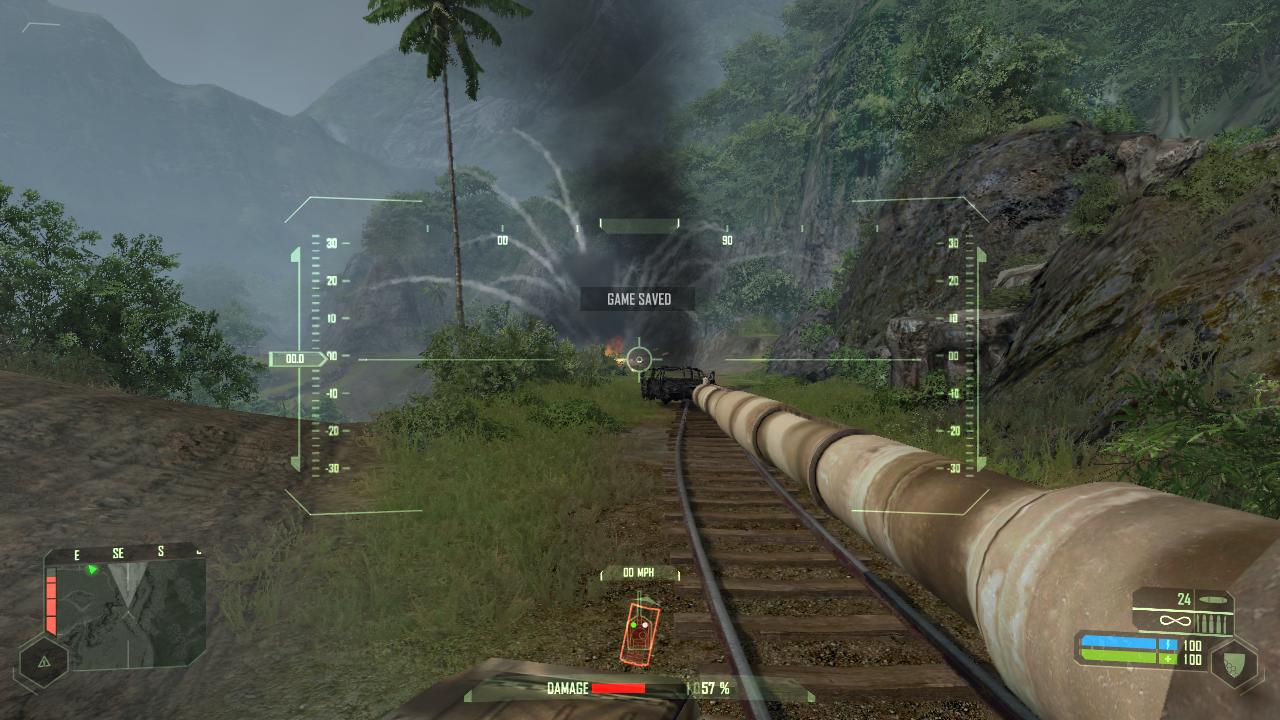
- Continue following your ally and focus your fire on designated targets. Combat will be intense and relatively slow, as your tank’s main cannon takes time to reload, and enemy tanks require two to three hits to destroy, depending on their armor.
- Halfway through, your ally’s tank will be destroyed, forcing you to continue alone.
- Advance through the valley at high speed to avoid being hit, reaching a small hill under enemy patrol.
- Destroy the patrolling enemy tank and proceed toward the heavily defended train station ahead (Attention! This area is strongly fortified).
- Eliminate as many enemies as possible using your tank, especially soldiers equipped with L.A.W.s, who can inflict severe damage. Once the area is secure, support VTOLs carrying Marines will arrive to take control.
- Board a new tank and use its cannon to destroy the train car blocking the road.
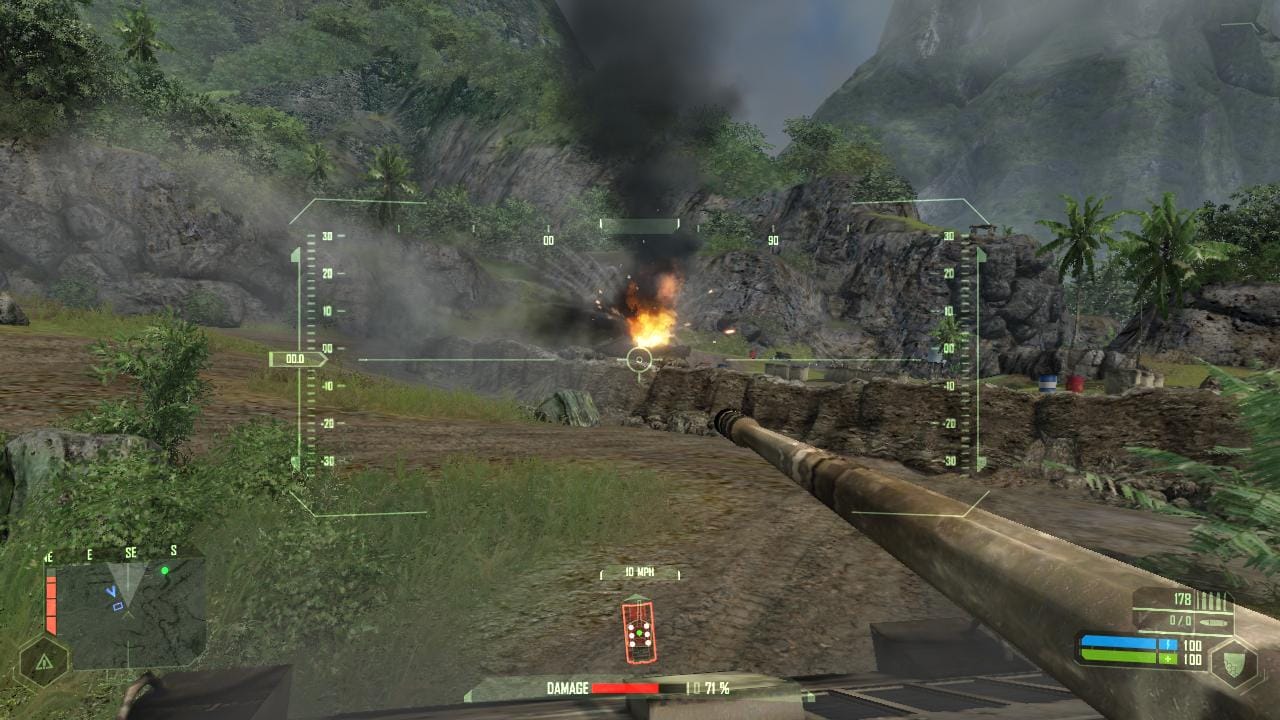
Continue along the next valley, where you’ll witness a spectacular event: a violent earthquake will occur, and the mountain ahead of you will begin to crumble (pause to observe the event: the progressive collapse of the mountain will reveal a massive, unknown structure hidden within. This visual effect is exclusive to the original PC version).
Strickland will assign your next mission: eliminate three anti-aircraft positions in the valley to enable the destruction of a munitions depot.
Primary Objective: Anti-Aircraft Elimination
- First Target: Drive your tank toward the central position and assault it. Avoid parking too close to prevent your tank from being destroyed. Eliminate the enemies and use C4 to demolish the anti-aircraft site.
- Second Target: Head to the position on the left, dealing with patrolling helicopters in the area. Follow the same approach as before, ensuring the site is destroyed using C4.
- Third Target: Approach the position on the right via the train tracks. This area will have much stronger resistance, including enemy tanks, snipers, and support jeeps.
Once these objectives are completed, Strickland will give you the go-ahead to move toward a higher vantage point and launch the assault on the munitions depot.
Final Assault on the Munitions Depot
- Regain control of your tank and prepare to face the EPC’s final line of defense. Before advancing, collect the GAUSS rifle and ammo from the support VTOL.
- Work with Strickland and the Marines to eliminate enemy forces, then destroy the guard post protecting the minefield. Carefully navigate the minefield by following the train tracks.
- Continue along the road. When the path is blocked by a landslide, use “strength” mode to leap over the rubble. Once across, you’ll need to proceed alone on foot.
Crysis: Guide to Chapter Six: Awakening
You’ll begin this chapter on a road with three main objectives:
- Primary Objective: Secure the mine entrance.
- Priority Objective: Take control of the factory to ensure a safe landing zone for the Marines.
- Secondary Objective: Assault an EPC warehouse complex to gather intel on the hostages’ location.
Phase 1: Assault on the Warehouse ComplexApproach the warehouse complex using “cloak” mode to analyze the situation without alerting enemies.
- Eliminate patrols while staying cautious of the APC stationed outside.
- Enter the barracks and gather available ammo and explosives, including the necessary C4 to destroy the APC.
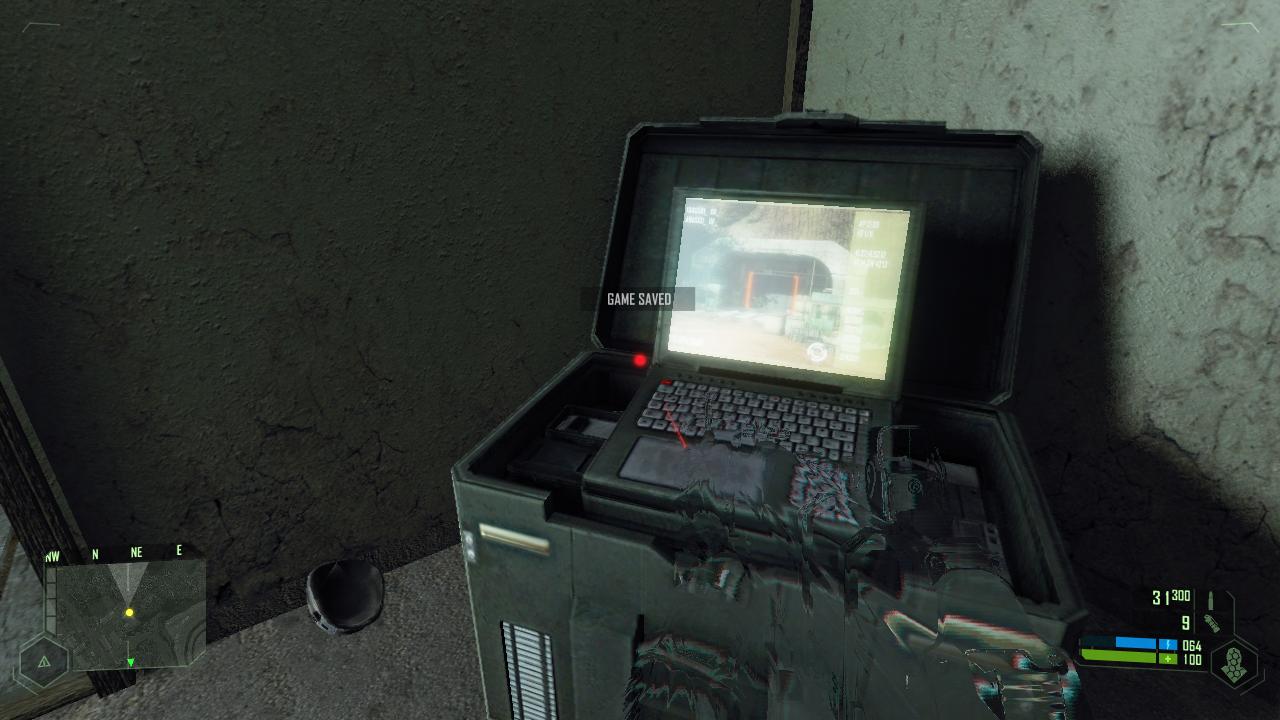
- Head into the main building and download data from the PC to complete the secondary objective.
Once finished, return along the path you came from and continue down the train tracks.
Phase 2: Factory Takeover
Follow the train tracks, eliminating enemies until you reach a large complex.
Since you’ll arrive from the rear, resistance will be less concentrated, making the situation more manageable compared to a frontal assault. To handle this phase effectively:
- Secure the surrounding buildings.
- Neutralize snipers and ambush soldiers by surprise.
- Minimize enemy forces before dealing with turret-mounted guards.
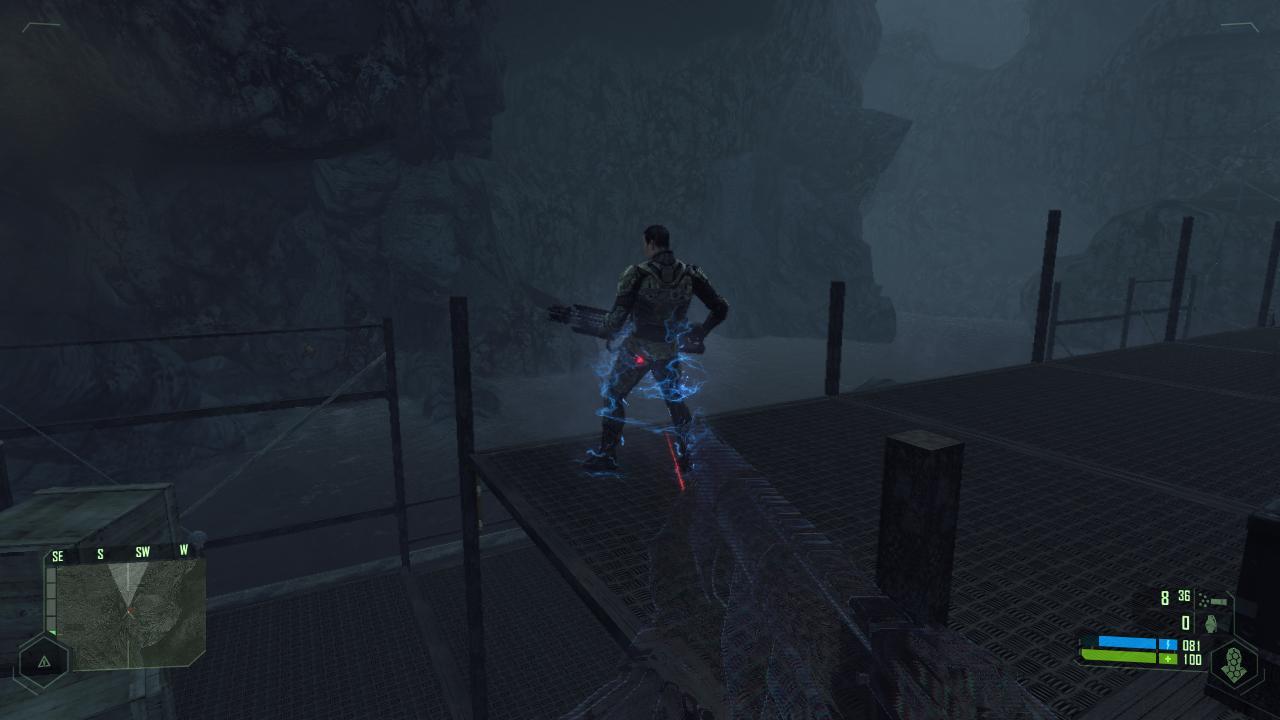
For the final confrontation, use the GAUSS rifle equipped with a laser pointer and assault scope, combined with “strength” mode, to take down two Nanosuit soldiers armed with Miniguns.
Shortly afterward, a hostile helicopter will arrive. Destroy it using the rocket launchers located at the back of the building. Once the factory is cleared, support VTOLs will arrive, ready for the final assault on the mine.
Phase 3: Mine Entrance Assault
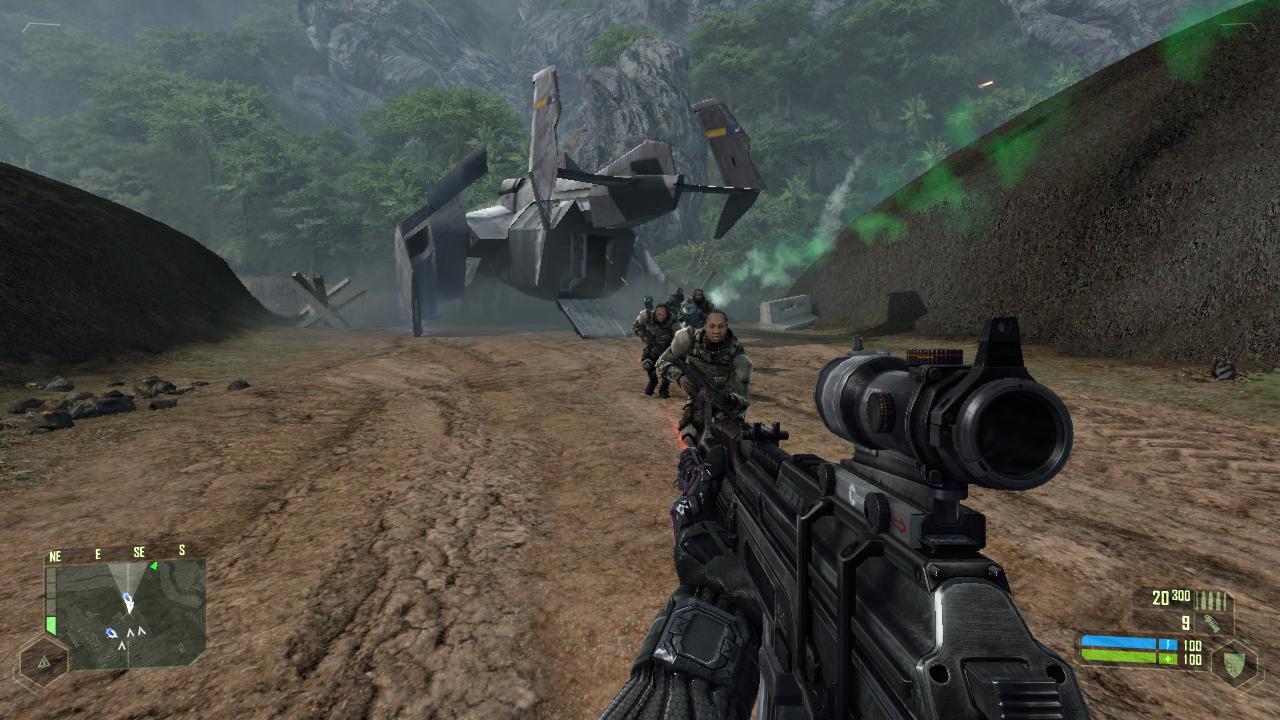
- Take a vehicle and head to a small EPC outpost located just before the mine entrance.
- Collect ammo and explosives from the armored warehouse.
- Use C4 to destroy the two APCs blocking access and neutralize the remaining enemy forces.
Approach the defensive line and breach it:
- Toss grenades to take out machine gun positions.
- Cross the trench, eliminating threats quickly.
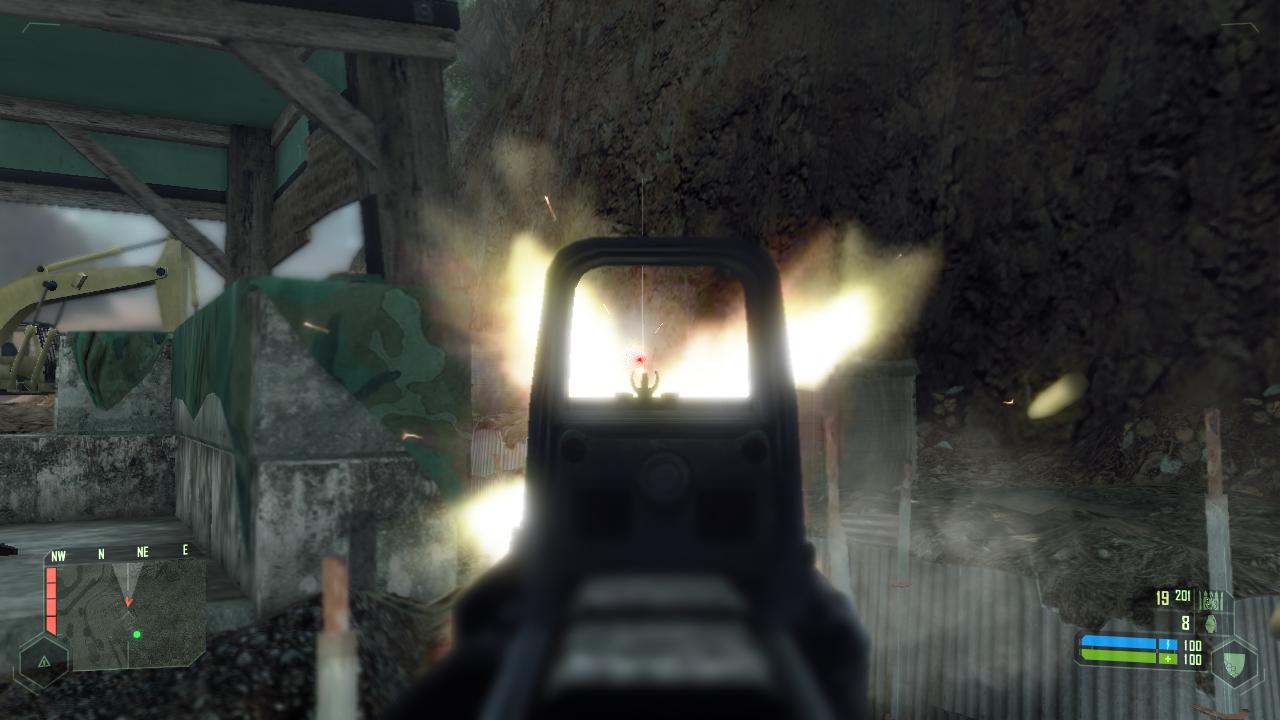
A support VTOL will provide covering fire while you confront a Nanosuit soldier. Swap your GAUSS rifle for a minigun to handle the remaining enemies, including two Nanosuit soldiers emerging from the mine entrance. Once the area is secured, the Marines will take control.
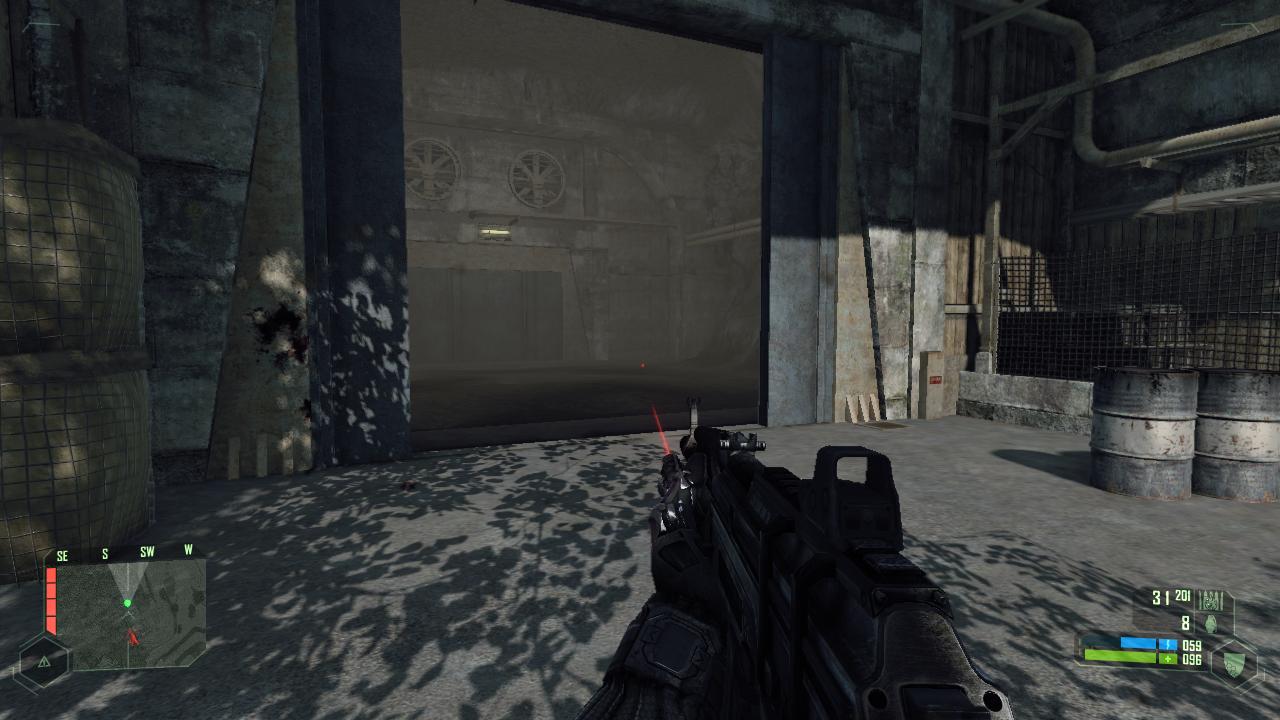
Phase 4: Mine ExplorationEnter the structure until you reach an elevator. To descend, throw heavy cable spools into the shaft to slow the descent and jump using “armor” mode.
Inside the mine, proceed cautiously:
- Deal with heavily armed guards, advancing patiently.
- When reaching an open area, falling rocks will trigger. Use “speed” mode to jump across the gap and avoid the debris (or take cover to admire the impressive physics of moving objects).
Move forward to reach the hostages, who are located in front of an entrance built into the mountain.
Phase 5: General Kyong Showdown
In this phase, you’ll be captured and forced to watch as General Kyong activates a mysterious structure and executes a scientist. Once you free yourself from this critical situation, the fight with Kyong begins:
- Use “cloak” mode to retrieve a shotgun, SMG, and pistols.
- Activate “strength” mode to engage him directly, using enhanced punches and aiming for the head to maximize damage.
Phase 6: Escape from the Mountain
After defeating Kyong, rush to the elevator with Elena Rosenthal. During the ascent, the elevator will malfunction, and the mountain will begin to collapse. A VTOL will arrive but will only manage to extract Elena. You’ll remain trapped inside the falling elevator, forced to find another escape route.

